Projector Projects
binding light with code
What comes to mind when I mention the word “projector”? Probably lectures, presentations, and pull-down screens that sometimes retract at the wrong time. Typically, projectors are used to display a laptop’s screen (often with a slideshow application open) in lieu of a sufficiently large monitor. That is, a monitor of the same size as the projector screen would be better from the audience’s perspective; but, since such a large monitor would be expensive and unwieldy, the projector is used as a compromise.
 photo credit: Liridon, licensed under CC BY-SA 4.0
However, projectors have interesting properties that monitors do not; they throw concentrated light at a surface rather than spreading it all around like a monitor, turning some other object into a display. Unlike monitors, projectors can hide or disguise their presence by throwing light selectively. (When a monitor is turned off, it’s clearly still there; when a projector is turned off, the projection disappears.)
With these things in mind, and inspired by glimpses of Dynamicland, the work of Johnny Chung Lee, and an occasion a couple years ago wherein Chris Lock whipped out a remarkably tiny projector at a FaMLE rehearsal, I resolved to get my hands on a small projector and spend a bit of winter break playing around with it. In this post, I’ll describe a couple of toy projects and my general impression of the projector as equipment for creative coding.
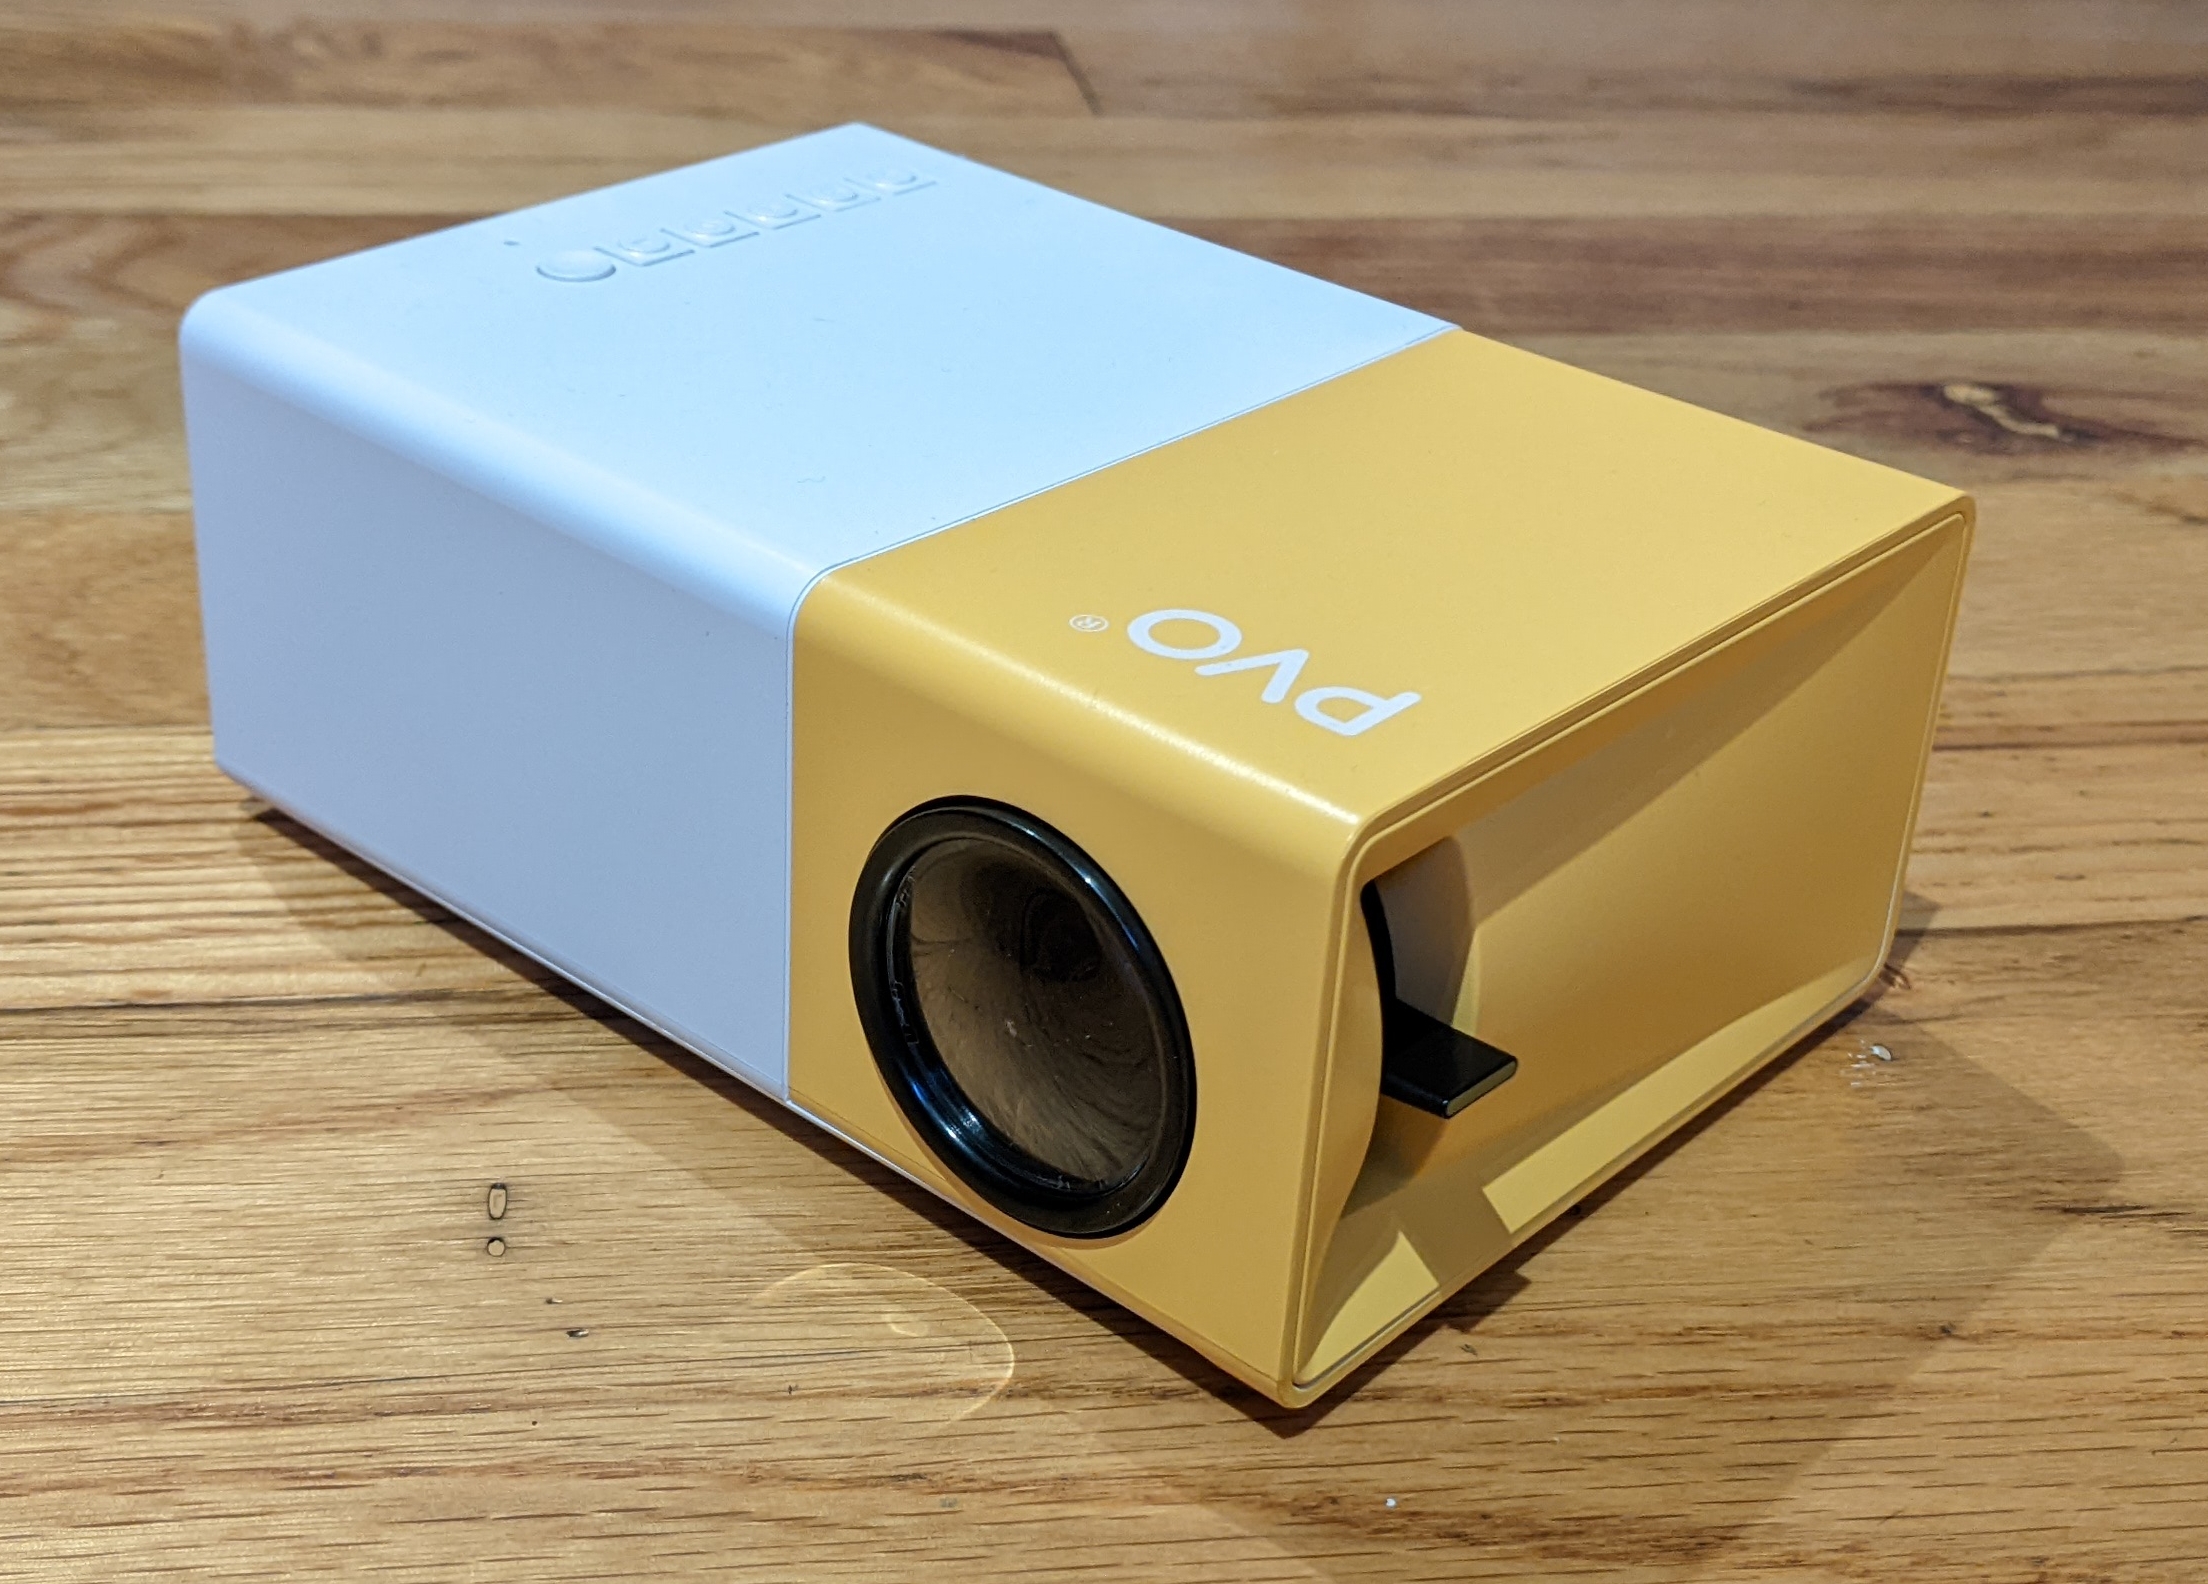
First: which projector? After brief investigation, I settled on this one, which has been fine so far.1 It’s straightforward to use and relatively cheap. The resolution is neither amazing nor terrible; if I could change one thing about it, I’d appreciate less fan noise.

Programmatic Light-Painting
To control the light, I decided to use p5.js for expediency. p5 exposes high-level graphics functions (rect(), ellipse(), text(), image(), etc.) as built-ins, while also allowing for the use of WebGL. And it runs in the browser, which (as discussed previously) simplifies distribution.
First, my preliminary experiment: if the projector is displaying black, is the projection visible (i.e. does it put out any light)? By inspection, I found that the answer is “no”. Of course, this is a drawback if you’re trying to use the projector as a monitor and display images accurately, as black will simply come out as the color of the background surface. But it’s very useful if you’re trying to use the projector as its own thing, as it means you can project partially without revealing the bounds of the projection.
Bookshelf
Next, I tried pointing the projector somewhere other than a flat, blank surface (the typical target). The nearest thing was the bookshelf, so I pointed it there. This resulted in the following little project:
As the video demonstrates, the projector augments the bookshelf with search functionality. The query appears in the back of the shelf, above the books. And instead of listing the results somewhere (perhaps with a code so you can go find them on the shelf), the projector highlights the actual, physical books directly.
Naturally, this is a toy and may not work well in a real library for sundry reasons (projector placement, expense, fan noise, privacy, …), but it’s a neat demonstration of what you can do very quickly with a projector and a little code.
There was one thing that required some fiddling: I had to deal with the projector’s position relative to the shelf manually in my code. If I draw a rectangle, but the projector is at an angle, it won’t appear as a rectangle on the projection surface. Additionally, the scale and position of the rectangle varies with the projector’s distance from the surface. For the bookshelf, I deal with rotation by drawing some horizontal lines, then tweaking arguments to rotateY() and shearY() until they appeared parallel on the books. To deal with scaling and translation, I made a little mouse interface for drawing the rectangles (serving as light masks) directly over the books, which made the task much easier and less tedious than manually tweaking all the parameters (or measuring the positions of the books and applying a transform).
Sticky Projection
After doing all this to compensate for the projector position, it occurred to me that I’d have to do it all over again if the projector (or shelf) moved a little. Argh! Could this process be automated? I’d seen Johnny Chung Lee’s work with automatic projection calibration, in which light sensors embedded in the projection surface made enabled impressively quick and accurate alignment. I didn’t have light sensors in my target surfaces, but I did have a webcam, so I tried hacking together an alternate approach: using the camera to determine the bounds of the projection and calibrate from that.
I pursued the first solution that occurred to me: draw different-colored squares at the corners of the projector, find them in the webcam feed to estimate the corner positions, and then compensate for the transform between the webcam and the projection surface to correct for rotation, scaling, and translation. Luckily, I found that a WASM build of OpenCV is available, enabling the use of this classic computer vision library in the browser.2
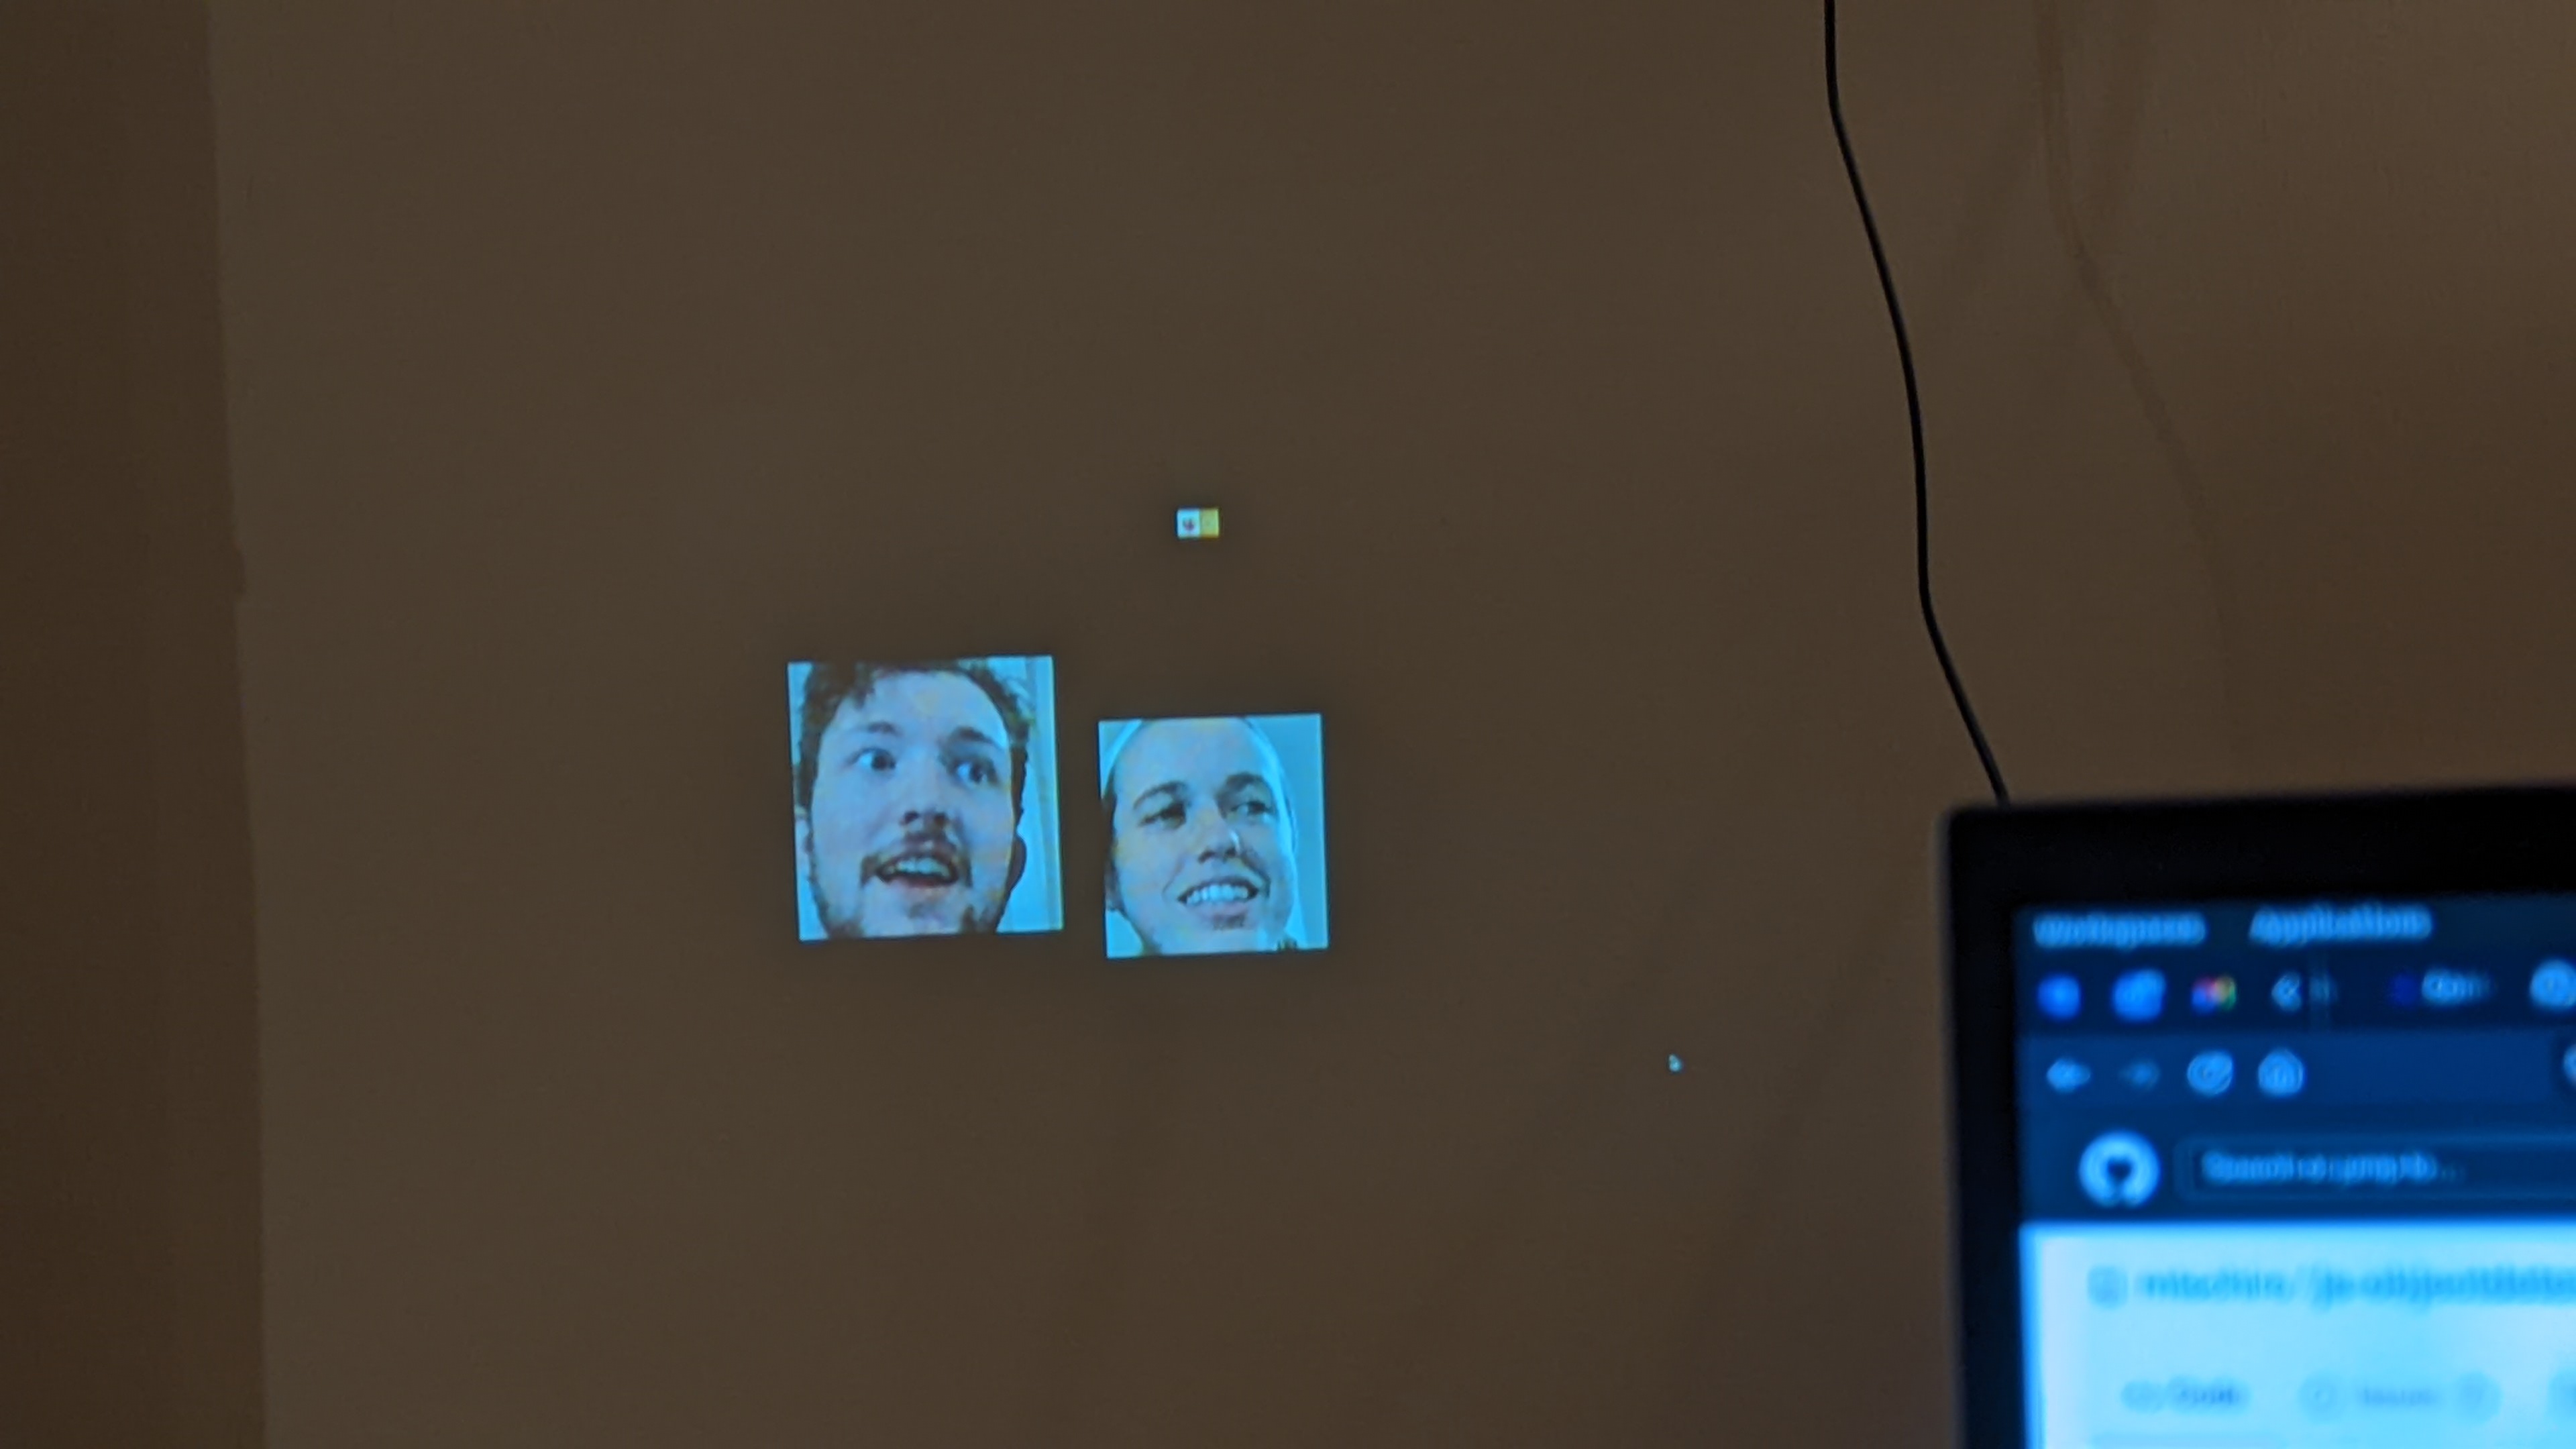
To find the corners, I performed HSV-based thresholding for each target color, with the center and bounds for the components determined by fiddling.3 I then find promising contours in each thresholded image and pick the largest. Debugging and tweaking were eased by showing the camera feed (and estimated corner positions) on the projector. With all four points, I could then determine the size, orientation, and position of the projector’s output relative to the camera, and compensate for it.
Initially, my goal was to have the projector contents appear automatically upright. This was straightforward, assuming the camera was upright. (As a side effect, rotating the camera became a control for the picture orientation.) But further compensation for scaling and translation felt arbitrary, so I then switched tacks. I drew a symbol in the middle of the projector screen. When the user pressed “s” (for “sticky”), the system would save the current position/scale/orientation, and then apply transformations to try to get the symbol back to its original position/scale/orientation.
Here’s the system in action:
A few caveats:
- My corner-color-tracking scheme is naive and easily confused by other objects that are close to the corner colors. This could be improved by better contour selection (e.g. using
minAreaRect()instead ofcontourArea()and tightening up the bounds on area & aspect ratio), but another approach, such as fiducials or spreading the identifiers across time (as in Lee’s work with Gray codes), would likely be more robust. - Instead of my ad-hoc methods for estimating scale, orientation, and position separately, it would be better to determine the actual projection matrix between the screen coordinates and the camera’s view of the projected screen (or between the “sticky” view and the current view) — then we could just take the inverse and apply it directly.
- The latency is higher than I’d like; while moving the projector, the symbol visibly moves and then snaps back into place. Ideally, this would be more fluid, so as to create the illusion that the symbol really is stuck to the wall.
But at this point in my experiments I was running out of break, so I left these things to future work play (and suggested exercises for the reader ☺).
Conclusion
Projectors are pretty neat, and offer a lot of potential for creative coding. In their most common application (monitor substitute), that potential mostly goes to waste, which is a shame. From my experiments, I found that it’s easy to get something interesting out of a projector quickly (including the time & cost of acquiring a projector), thanks in part to the low cost of consumer electronics, the development of creative coding frameworks like p5.js, and the progress of the web as a platform.4
Next time I play with this, I may work on some of the improvements discussed above, or take things in a new direction entirely. One thing that’s nice about a just-for-fun project like this is that I didn’t have any obligation to care about novelty. I’m sure there are more impressive open-source projector projects out there, but I didn’t do any literature review (beyond what I’d already seen of Dynamicland and Lee’s work, which served as inspiration). Sometimes it’s nice to just try things for yourself, regardless of what might have been done already. That said, I may do some more preliminary hunting next time to see what’s out there and gather more inspiration.
Here are the links to try out the bookshelf and sticky projects. Of course, these are best experienced with a projector,5 but you can get a sense of how they work with just a monitor (+ external webcam for the latter). The source is available on GitHub. Try it out, experiment, and feel free to ask questions below!

-
Beware: some projectors claim a resolution of 1080p, but merely accept 1080p input and rescale it to their actual, lower resolution. The projector I settled on has an actual resolution of 800x480, which is good enough for my purposes, and seemed better than its competitors at that price. ↩
-
In case you’ve been asleep for the last few years, two things:
- Good morning!
- Everything runs in the browser now, it’s wild!
-
HSV thresholding is slightly more complicated than RGB thresholding, because the hue component wraps around at 180. (That is, H = 179 and H = 0 are adjacent.) In my case, it was sufficient to make sure that my target red fell on the “correct” side of the split (the one which agreed with the camera), but the right fix would involve having an extra temporary matrix, making two separate inRange() calls, and bitwise_or()ing them together. ↩
-
I was able to use my webcam and OpenCV without leaving the browser, installing plugins, running
emmake, etc.). ↩ -
And the bookshelf code assumes you have the books on my bookshelf, in the same order they are on my bookshelf. If you do, that’s great, but also kinda weird! ↩